

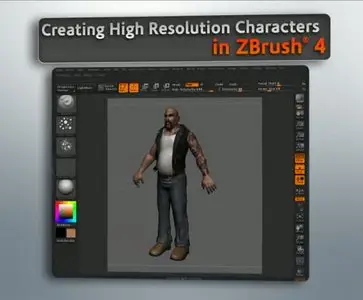
Creating High Resolution Characters in ZBrush 4 (2010)
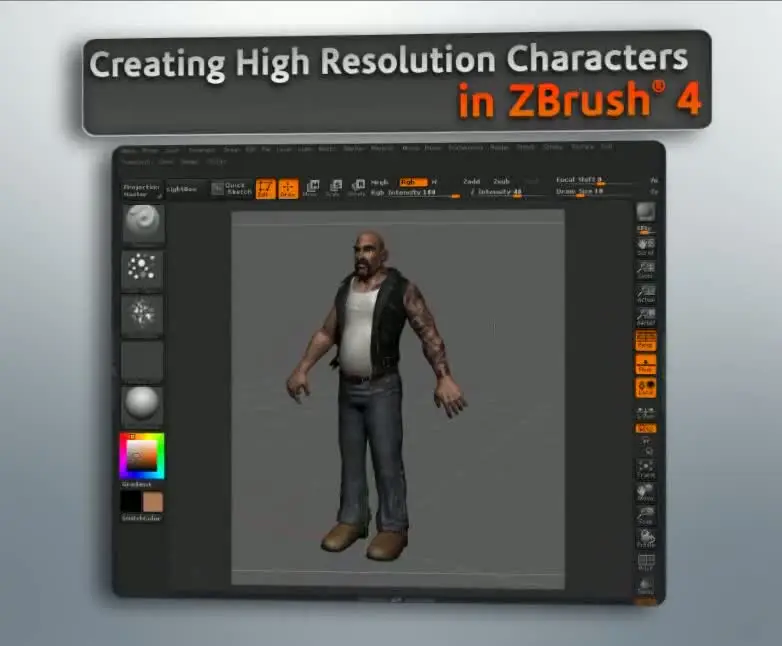
Creating High Resolution Characters in ZBrush 4
DVD5 | English | FLV | 782x646 | VP6 ~1000 kbps | 15 fps
AAC | 1 channel | 96 kbps | 44.1 KHz | 06:49:00 | 4.68 GB
Video tutorial- 3D-graphicsIn this course we'll use ZBrush to build and detail a high resolution biker character.
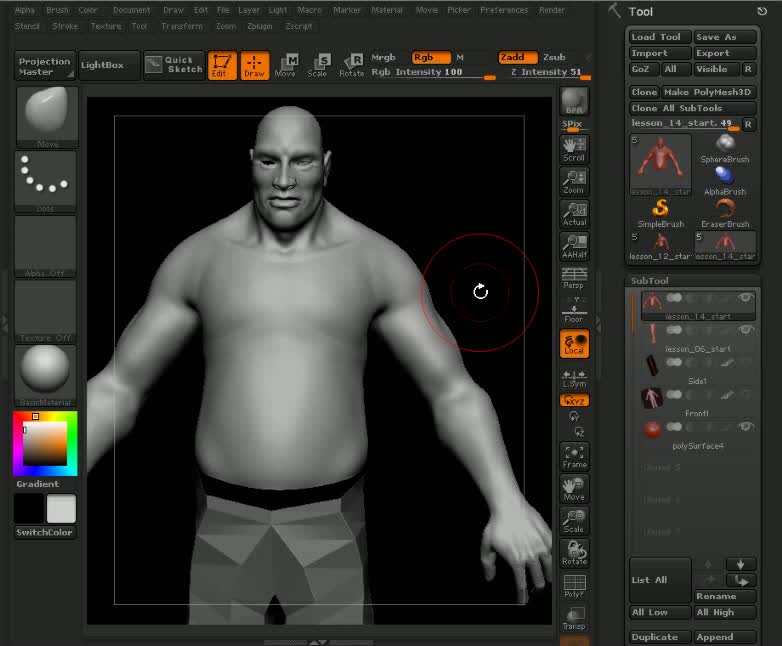
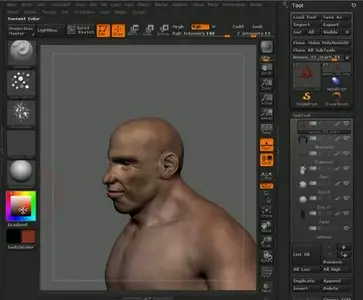
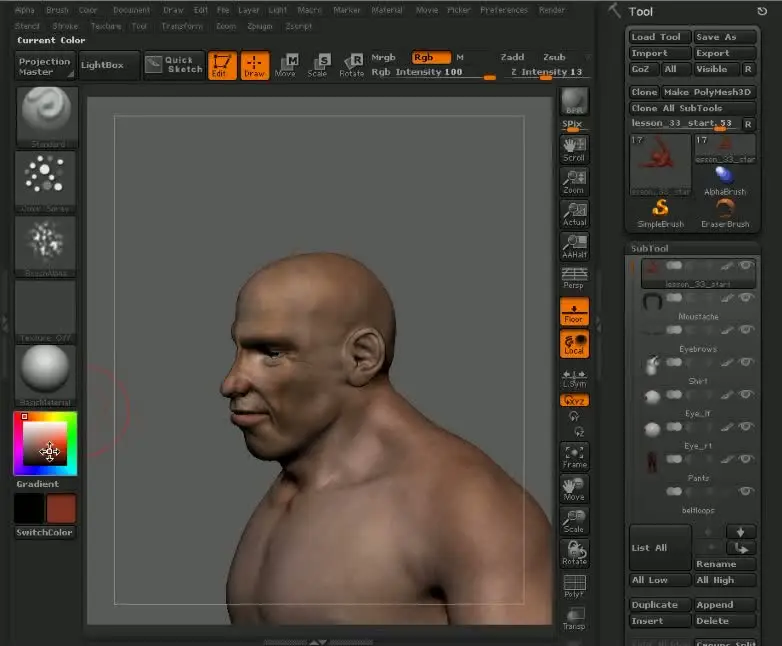
ZBrush is a great tool for putting together characters. You can create base geometry, sculpt and paint your meshes, build accessories and clothing, and work seamlessly between other applications. In this course, we'll go through the process of building up a high resolution character from start to finish using ZBrush as our main application. We'll explore the use of zSpheres in building out our base mesh. We'll use GoZ to quickly take geometry between ZBrush and Maya, although the methods used will apply to other applications as well. We'll also use a bit of Photoshop to edit and create some texture maps we can use in ZBrush to add sculpt and color detail. If you're new to ZBrush, I encourage you to first check out the introductory courses,as well as the courses on some of the new features in ZBrush 4 like Shadowbox and Spotlight. We're going to cover a lot of ground and, in the end, you'll have a finished character, along with the tools you need to create your own high resolution character models.
1. Introduction and project overview
2. Working with concept art
3. Setting up reference images
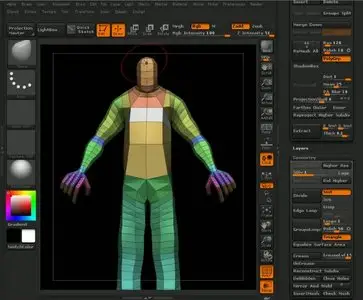
4. Building base geometry with zspheres
5. Shaping and modifying the base mesh
6. Customizing topology in Maya
7. Working on the body topology
8. Finishing the topology changes
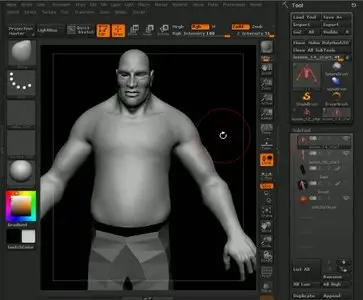
9. Shaping the character's body
10. Sculpting the main forms of the body
11. Sculpting the main head structure
12. Adding detail to the head
13. Sculpting the hands
14. Finishing the body and head sculpt
15. Polypainting the eyes
16. Building the jeans
17. Creating a UV layout for the jeans
18. Starting the jeans texture in Photoshop
19. Finishing the jeans texture
20. Using the jeans texture to paint and sculpt in ZBrush
21. Sculpting wrinkles into the jeans
22. Creating a shirt with the topology tools
23. Sculpting and painting the shirt
24. Building the vest
25. Adding details to the vest
26. Sculpting and painting the vest
27. Modeling the boot geometry
28. Finishing the boots
29. Polypainting the boots
30. Adding eyebrows with zspheres
31. Building and sculpting a moustache
32. Using Spotlight to paint the face
33. Polypainting the rest of the body
34. Sculpting a patch for the vest
35. Using Shadowbox to create a large patch for the vest
36. Building the zippers using Shadowbox
37. Modeling the belt buckle
38. Using layers to add a facial scar
39. Painting a tattoo on the arm
40. Adding wear and tear to the jeans
41. Making final modifications
2. Working with concept art
3. Setting up reference images
4. Building base geometry with zspheres
5. Shaping and modifying the base mesh
6. Customizing topology in Maya
7. Working on the body topology
8. Finishing the topology changes
9. Shaping the character's body
10. Sculpting the main forms of the body
11. Sculpting the main head structure
12. Adding detail to the head
13. Sculpting the hands
14. Finishing the body and head sculpt
15. Polypainting the eyes
16. Building the jeans
17. Creating a UV layout for the jeans
18. Starting the jeans texture in Photoshop
19. Finishing the jeans texture
20. Using the jeans texture to paint and sculpt in ZBrush
21. Sculpting wrinkles into the jeans
22. Creating a shirt with the topology tools
23. Sculpting and painting the shirt
24. Building the vest
25. Adding details to the vest
26. Sculpting and painting the vest
27. Modeling the boot geometry
28. Finishing the boots
29. Polypainting the boots
30. Adding eyebrows with zspheres
31. Building and sculpting a moustache
32. Using Spotlight to paint the face
33. Polypainting the rest of the body
34. Sculpting a patch for the vest
35. Using Shadowbox to create a large patch for the vest
36. Building the zippers using Shadowbox
37. Modeling the belt buckle
38. Using layers to add a facial scar
39. Painting a tattoo on the arm
40. Adding wear and tear to the jeans
41. Making final modifications
Full-screen
Creating High Resolution Characters in ZBrush 4 (2010)

Creating High Resolution Characters in ZBrush 4 (2010)
Creating High Resolution Characters in ZBrush 4 (2010)

Creating High Resolution Characters in ZBrush 4 (2010)

Creating High Resolution Characters in ZBrush 4 [06:49:00] (4.68 GB)
FILESONIC
http://www.filesonic.com/file/...racters_in_ZBrush_4.part01.rar
http://www.filesonic.com/file/...racters_in_ZBrush_4.part02.rar
http://www.filesonic.com/file/...racters_in_ZBrush_4.part03.rar
http://www.filesonic.com/file/...racters_in_ZBrush_4.part04.rar
http://www.filesonic.com/file/...racters_in_ZBrush_4.part05.rar
http://www.filesonic.com/file/...racters_in_ZBrush_4.part06.rar
http://www.filesonic.com/file/...racters_in_ZBrush_4.part07.rar
http://www.filesonic.com/file/...racters_in_ZBrush_4.part08.rar
http://www.filesonic.com/file/...racters_in_ZBrush_4.part09.rar
http://www.filesonic.com/file/...racters_in_ZBrush_4.part10.rar
http://www.filesonic.com/file/...racters_in_ZBrush_4.part11.rar
http://www.filesonic.com/file/...racters_in_ZBrush_4.part12.rar
http://www.filesonic.com/file/...racters_in_ZBrush_4.part13.rar
No mirrors please, follow RULES