


MacProVideo - WaveLab 101: Introduction To Mastering (2012)
MacProVideo - WaveLab 101: Introduction To Mastering (2012)
MOV | AVC 677kbps | English | 960x540 | 10fps | 2h 04mins | AAC stereo 105kbps | 461 MB
Genre: Video Training
Steinberg’s WaveLab is a full-featured audio editor, restoration and mastering tool that every musician and engineer must have in their audio toolbox. Find out how Matt Hepworth uses it to master his tracks in this fact-filled 24-video tutorial. WaveLab: Everybody’s heard of it. Lots of people use it. And now you can see this feature-rich software in action. Intro to Mastering in WaveLab by Steinberg Product Specialist Matt Hepworth takes you through an audio exposition detailing how this über-popular program works. You’ll first learn about WaveLab's set-up and layout and how to configure and optimize your computer to get the most out of WaveLab. Next, Matt dives right into mastering concepts and how they are implemented. He shows you how to win the Loudness War and how to add punch and shine to your tracks the WaveLab way.
From there, Matt explains the rendering and dithering process and how to apply the final touches both on a single track and a collection of tracks.
So if you’re interested in maximizing your mastering skills and adding that final polish to you productions, this Intro To Mastering In WaveLab tutorial will help you get your tracks ready to shine!
1: Getting Started
01:56
1. Welcome
03:03
2. Introduction to Mastering
03:19
3. Clickity-click, click
08:30
4. Use WaveLab 7.2 or Higher
05:30
5. Configuring Your Computer
02:51
6. Arranging Your Studio Environment
02:55
7. A Word About Screen Resolution
2: Learning the Layout
03:51
8. Understanding The WaveLab Workspaces
07:16
9. Tab Groups and Menus
07:47
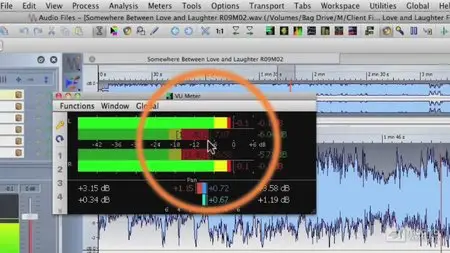
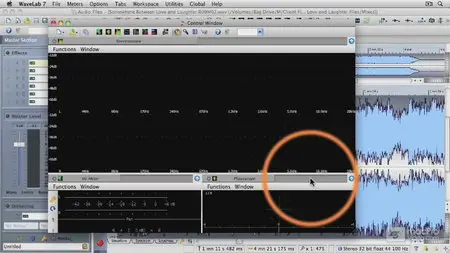
10. WaveLab Meters and The Control Window
03:36
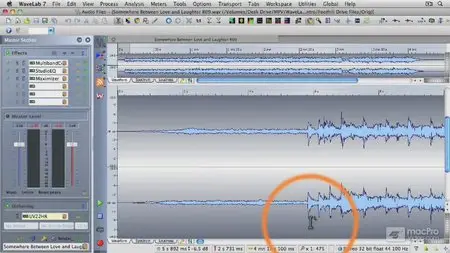
11. The Master Section
3: The Dark Art of Mastering
02:51
12. Punchy, Shiny, and LOUD!
10:14
13. The Loudness War
02:45
14. Who Sets the Final Mastering Volume?
4: Mastering One Song at a Time
04:38
15. The Audio File Workspace
09:47
16. Adding “Punchy” with a Multiband Compressor
04:25
17. Adding “Shiny” with an Equalizer
07:34
18. Adding “LOUD!” with a Mastering Limiter
04:10
19. The Importance of Dithering
07:24
20. Rendering Mastered Files
5: Mastered Files in the Audio Montage Workspace
04:11
21. Loading and Managing Multiple Audio Files
06:06
22. Adding Fades and Crossfades
04:11
23. Using CD Track Markers
04:47
24. Burning an Audio CD and DDP
Format : MPEG-4
Format profile : QuickTime
Codec ID : qt
File size : 43.8 MiB
Duration : 7mn 47s
Overall bit rate : 786 Kbps
Encoded date : UTC 2012-03-21 21:52:07
Tagged date : UTC 2012-03-21 21:52:08
Writing library : Apple QuickTime
com.apple.finalcutstudio.media.uuid : F03CB2ED-E9B5-4825-ACA8-2DAB72DC3910
Video #1
ID : 1
Format : AVC
Format/Info : Advanced Video Codec
Format profile : Main@L3.1
Format settings, CABAC : No
Format settings, ReFrames : 2 frames
Codec ID : avc1
Codec ID/Info : Advanced Video Coding
Duration : 7mn 47s
Bit rate mode : Variable
Bit rate : 677 Kbps
Width : 960 pixels
Height : 540 pixels
Display aspect ratio : 16:9
Frame rate mode : Constant
Frame rate : 10.000 fps
Resolution : 24 bits
Colorimetry : 4:2:0
Scan type : Progressive
Bits/(Pixel*Frame) : 0.131
Stream size : 37.7 MiB (86%)
Encoded date : UTC 2012-03-21 21:52:07
Tagged date : UTC 2012-03-21 21:52:08
colour_primaries : BT.709-5, BT.1361, IEC 61966-2-4, SMPTE RP177
transfer_characteristics : BT.709-5, BT.1361
matrix_coefficients : BT.709-5, BT.1361, IEC 61966-2-4 709, SMPTE RP177
Audio #2
ID : 2
Format : AAC
Format/Info : Advanced Audio Codec
Format version : Version 4
Format profile : LC
Format settings, SBR : No
Codec ID : 40
Duration : 7mn 46s
Bit rate mode : Constant
Bit rate : 105 Kbps
Nominal bit rate : 112 Kbps
Channel(s) : 2 channels
Channel positions : L R
Sampling rate : 44.1 KHz
Resolution : 16 bits
Stream size : 5.85 MiB (13%)
Encoded date : UTC 2012-03-21 21:52:07
Tagged date : UTC 2012-03-21 21:52:08
MacProVideo - WaveLab 101: Introduction To Mastering (2012)

MacProVideo - WaveLab 101: Introduction To Mastering (2012)

MacProVideo - WaveLab 101: Introduction To Mastering (2012)
MacProVideo - WaveLab 101: Introduction To Mastering (2012)

No mirrors please